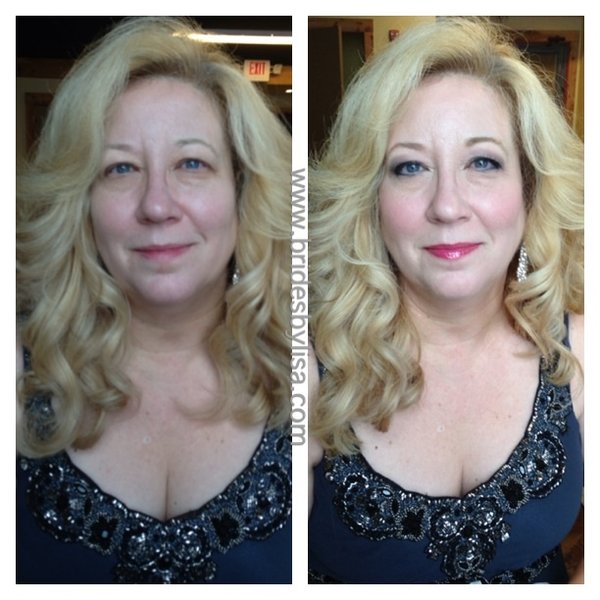
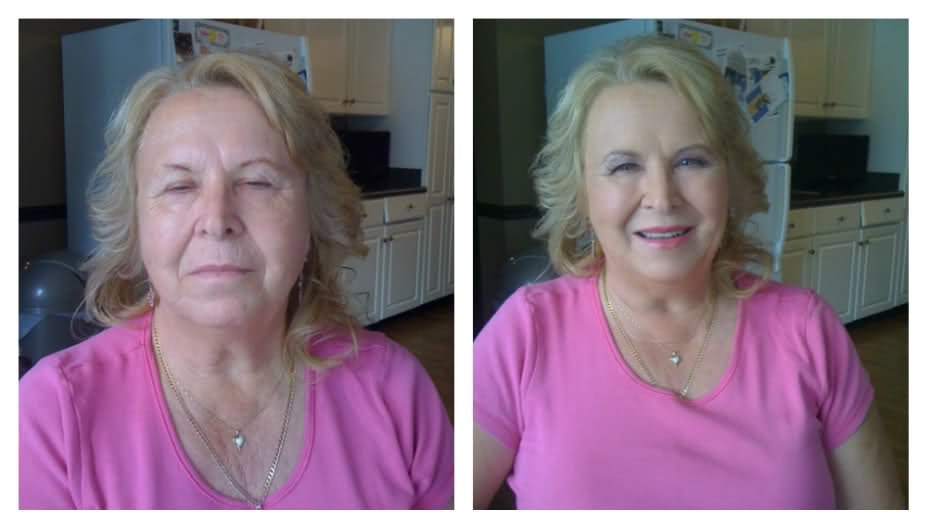
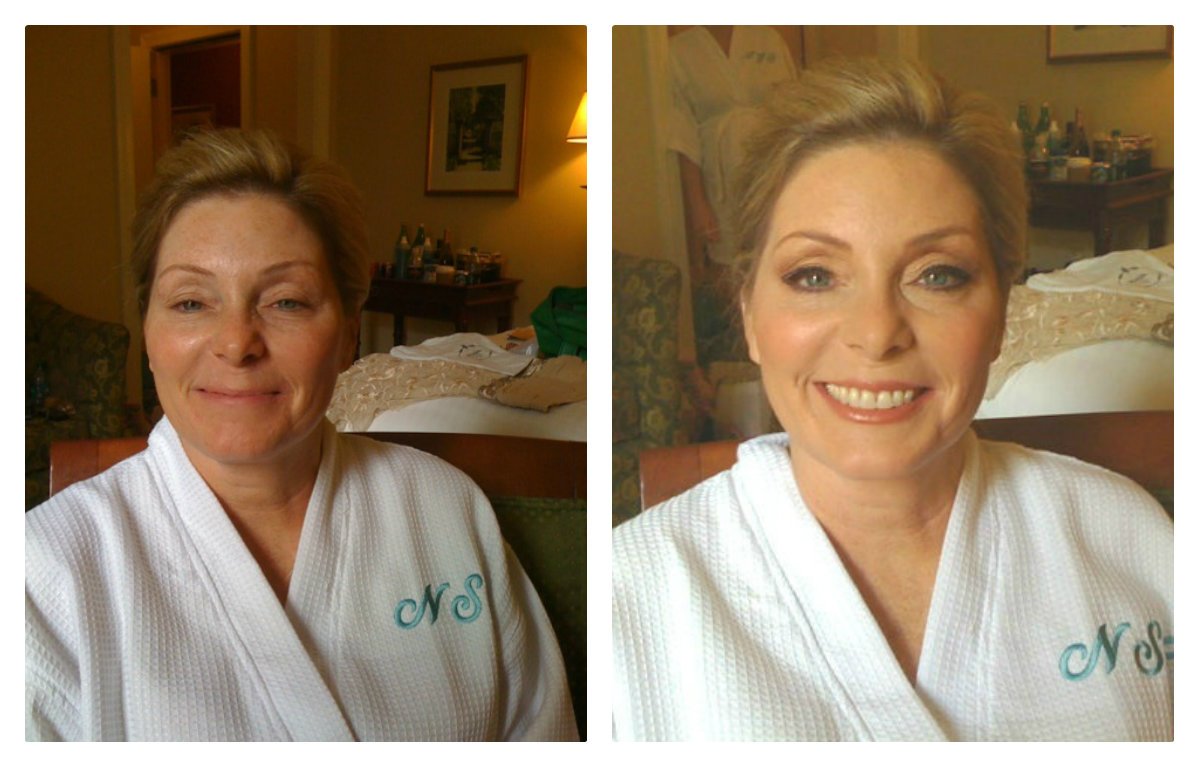
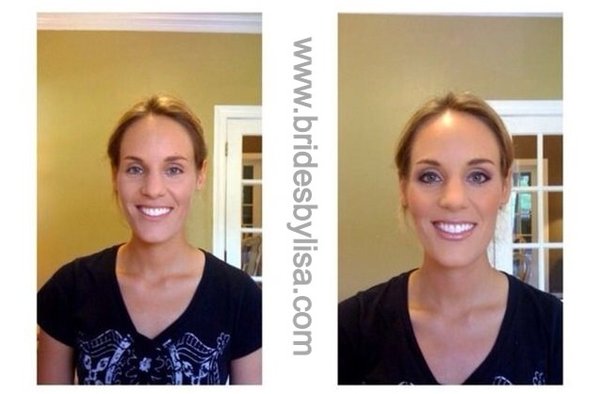
Makeup 101 for Women Over 40by Celebrity Makeup Artist Lisa Johnson - www.lisajohnsonmua.com
Now that I'm over 40, what type of makeup products should I choose and exactly how do I apply them? Often that's the question women ask. So, looking for some answers we asked celebrity makeup pro Lisa Johnson of www.lisajohnsonmua.com and www.bridesbylisa.com for some guidance. Along with her celebrity clientele and editorial work, Lisa helps her individual clients in the over 40, 50, 60, and 70 age bracket continue to accentuate their beauty. The following are Lisa's tips specifically geared for women over 40.
Step 1: Foundation
The foundation you use should be appropriate for your skin type and one that matches your underlying skin tone. Water based foundations are best for most mature skin, and depending on the coverage you need, you can either use creams or liquids. A good rule of thumb is the the more coverage you need, you general would go with a cream base - and if you have delicate skin that tends to sag a bit, liquids may be your best friend. There also are the mineral foundations that are truly excellent as well, but generally offer less coverage in comparison and take several "coats" of application to cover. If you choose mineral foundation products, look for those that offer MATTE finishes, so there is NO shimmer.
Using a foundation brush (I favor Lancome and Chanel's foundation brushes) or a sponge (the softer the better), blend the makeup downward and outward. Make sure to blend the makeup down the jaw line as well so that there is no obvious makeup line. Tinted moisturizers are great for dry or maturing skin because they don't seep into lines and wrinkles and provide light sheer coverage. You can make your own with a favorite non greasy moisturizer mixed in with your favorite foundation.
Step 2: Concealer
For dark circles, use a concealer that is slightly lighter than your foundation. NOT WHITE or too light, as this gives you the racoon look of decades past. Take special care with the skin under the eye by dabbing gently, as it is very delicate. I highly suggest using a concealer brush made specifically for this purpose - you get spot on coverage and don't tear at or rub your eye area too hard (again Chanel or Lancome make some of the best brushes). For concealing facial discolorations such as freckles, blemishes, or red spots, use a concealer that matches your natural skin tone and blend the edges well.
Note: Make sure to apply a thin layer of concealer and set with translucent powder to avoid creasing.
Step 3: Powder
After you apply your foundation and concealer, dust a light layer of loose powder over the entire face with a large powder brush. My absolute favorite is colorless loose powder you can find from Cinema Secrets or Camera Ready (found at www.camerareadycosmetics.com). This sets the foundation without making the skin look over-powdered like a sponge or powder puff can. You can use pressed colorless as well, with a brush - but understand that pressed has more oils and binders than loose.
Step 4: Eyeshadow
First, set the eyelid with a primer of your choice (I like Laura Mercer, Lancome and Face Atelier) and a flesh toned shadow over the entire lid (beige works well, light no shimmer). Then, select a deeper color to shade the crease starting from the outer edge using a windshield wiper motion. Remember, lighter colors bring things forward and highlight and darker colors recede and add depth and shading. Therefore, if you have drooping eyes, shade the area right above the crease of your eyelid where it is drooping making sure to blend the outer edge of the shadow up and out. Practice your application and blend well; the goal is not to have obvious edges of color. If you do have trouble blending, a little tip I have is: dip your eyeshadow brush into your loose or pressed powder and SMUDGE out any obvious lines of shadow with your powder.
Step 5: Eyeliner
I like using powder with an angled liner brush (art stores carry great angled brushes and MAC also has one I like) to line the eyes. It contributes to a softer line that isn't too harsh. Position the brush as close to the lash line as possible starting with the inside of the eye and ending the line with a slight lift of the shadow. This will also lift the eye. Generally, the line along the lower lashes should be thinner and less-intense. To make the eyes look bigger, only line the outer 2/3rds of the lower lash line and blend well.
Note: You can line the inner ridge of the eyes with a flesh toned liner. This will also open up the eyes and give a more youthful look. Please REFRAIN from using dark pencils inside your eye as this is VERY HARSH and hard and closes IN the eye area.
Step 6: Mascara
Lashes start to thin over time. To add fullness to the lashes, wiggle in black powder eye shadow into the roots of the lashes using a flat angle brush. Curl lashes and apply mascara beginning as close to the root as possible and wiggling your brush up and out. You can opt to go without mascara on the bottom lashes, which will keep the focus on the top part of the eye (which is what we want). You can also try a brown waterproof on the lower lashes - much less harsh than black.
If you need extra thickening, you can use a lash primer before using your mascara.
Step 7: Eyebrows
Eyebrows also get thinner and loose their color over time. I like to shape the brows using a powder shadow. It looks much more subtle and natural. For darker hair, use a color that is slightly lighter than your hair color. For lighter hair, use a color that is slightly darker than your hair color. Apply the powder color using an angled brush, working in the direction the hair grows. Start in the middle of the brow and work out and up very lightly...if you start at the front of the brow you tend to OVER darken this area. There are great stencils to use as well, just position them correctly.
Note: For parts of the eyebrows that are lacking hair, use a blonde or soft brown pencil to define the shape and then set with the proper color powder. This will help the color adhere to the skin.
Step 8: Blush
I like using a cream blush on more mature skin because it's more hydrating and it looks more natural. If you do decide to use cream blush, remember to do it before you set your foundation with powder. Once you use powder, you have to continue using powder; otherwise it will not blend well. If you want your cheek color to last longer, you can layer it with a powder cheek color after you have set the cream cheek color with your translucent powder. Start light and sheer and add more....if you apply too much, buff it out with a bit of loose colorless powder. I advise to stay away from too PINK or too RED...corals, peaches BRONZES and roses are kind to use.
Note: Blend the color up towards your temples...this will give a lifting look to the overall face. Remember to blend well using a clean sponge so there are no hard edges.
Step 9: Lipstick and Lip Liner
To keep your lipstick from running into the fine lines you can first apply foundation to your lips and then set it with your translucent powder using a clean sponge. Then, apply the lipstick with a lip brush making sure to stop slightly before the edge of the lips. The darker the lipstick, the OLDER you look...but do NOT use frost or highly shiney glosses. Cream, satins and some with a bit of shimmer work well. Reds, russets, wines, etc in a darker tone are great if they are not MATTE...you need a more sheer cream or gloss to use these well. Don't be afraid of color on your lips.Note: To make lips appear larger, highlight the center of the lips with a shimmer gloss.
Important:Good brushes are essential for applying makeup!!
Remember to knock the excess powder off the brush before you apply the color to your face.
Use the right brushes for the right areas…you will get the job done quicker at a fraction of the time. Make sure to hold the brush downward when washing them to avoid loosening the glue and let them air dry at the edge of the counter over night before using them again.
If you take care of your brushes, they will last a very long time.
And finally, have fun with makeup!! Everyone can look better with a few key elements and the right tools.
__________________________________________________
Lisa Johnson is a celebrity makeup artist working in Nashville and nationally. She is much sought after for her clean beauty makeup and keen attention to detail. www.lisajohnsonmua.com